
Instagram Story Highlights

Have you noticed that many of the high-profile instagram accounts have intriguing little circles underneath the blurb on their profile page?
Those circles are story highlights. Stories started off as spontaneous posts that disappeared after 24 hours. The benefit of using them was that stories appear at the top of the Instagram page and your Instagram presence was therefore reinforced.
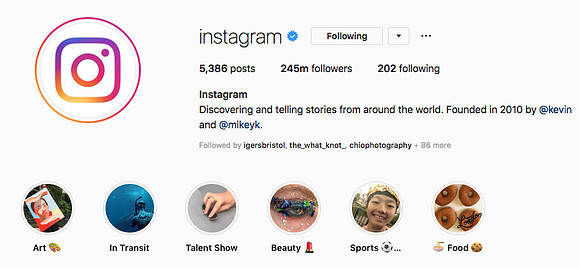

Stories have since evolved and many users choose to utilise stories much more than their personal grid. Stories still disappear from followers feeds after 24 hours but they often hold some amazing content. Instagram quickly rectified this and provided the option to mark some stories as "highlights" essentially allowing your best stories to be available to your followers at a click of a button. Highlights can be organised into categories with the most recently updated category appearing first in the list.
The default image that is shown for the highlight is the first post in each particular category but, if you have a number of different highlights, it can look messy. For that reason, I have opted to create my own cover images.
Designing with Canva
One of the easiest ways to create your own cover images is to use Canva - it's a great way to create content for social media. There is a huge selection of free designs available which you can tweak to fit your own requirements and also a vast library of images and illustrations that you can purchase to use in your designs. You need to sign-up for an account but, that way, all of your designs are stored so that you can come back to them at a later date.
The following directions are based on using the Canva website on desktop. The steps will be similar on a tablet or smartphone but they may not be exactly the same.
At the top of the page click on "Use custom dimensions" and enter a width of 1080 pixels and height of 1920 pixels. Start with the simplest layout with one single image covering the entire page (the other designs will be useful to play around with for other story posts).
In the main design area, click on the design - this should highlight it. Now click on the rainbow coloured box above and choose a colour for your background.
Next, click on "Elements" on the left of the screen. Take a look through the "Shapes" and "Illustrations" for inspiration. You need something that will fit nicely inside a circle. I decided that I wanted a group of similar shapes that I could use for a range of highlight covers. As my business name includes "Blossom", I searched for "Flower" and found a selection of outlines that I felt would work perfectly.
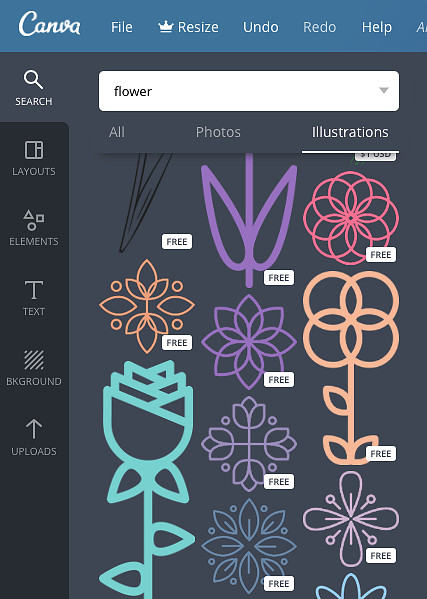
Clicking on your chosen element will automatically add it to your design. Want to change the colour? Ensure the element is selected and simply click on the rainbow box at the top to choose the new colour.
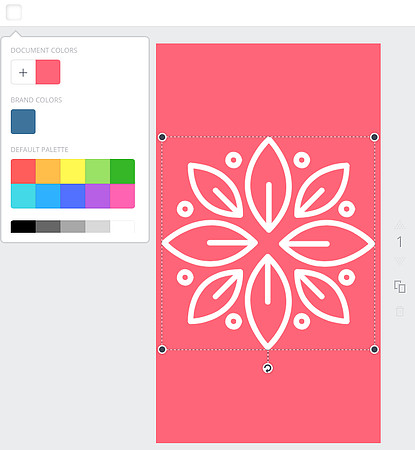 My symbol is too big to allow it to display correctly in the highlights cover so I resized it by clicking on the anchor points in the corners. You can move the symbol by clicking on it and dragging it. One of the greatest things about Canva is that it aligns elements automatically - drag the symbol towards the centre and you should see that guidelines appear to show you when the symbol is aligned centrally (both horizontally and vertically).
My final image looks like this which I then downloaded as a JPEG.
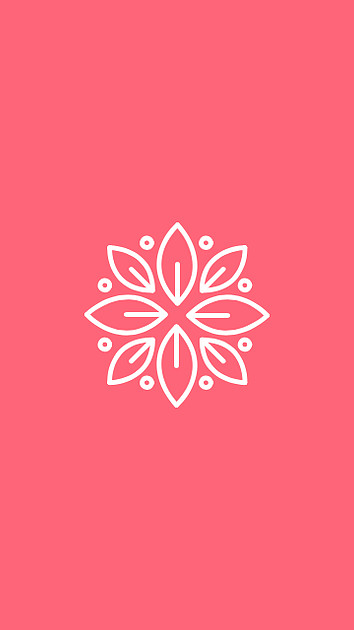 The image will save directly to your computer. At this point I would recommend that you also rename your design so that you can easily find it when you come back to it later.
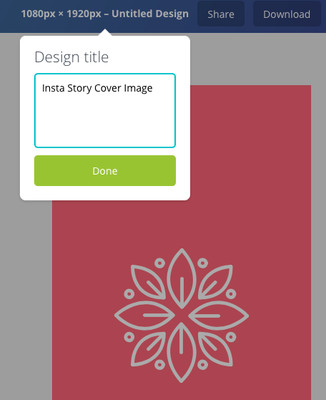
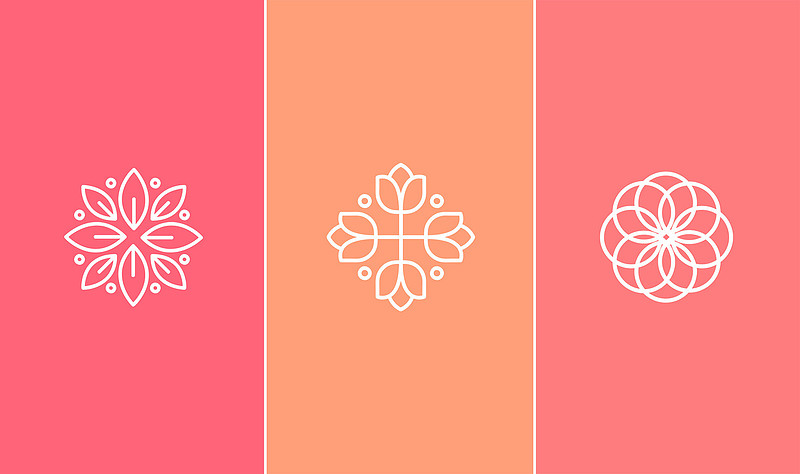
If you want to create additional cover images, click on "File" and "Make a Copy" - this will open the design in a new page so that your original design is not overwritten. You can tweak the colours, swap the symbol or even add text. Add text with caution - individual short words are best as longer words will be difficult to read. Remember, consistency is key so try and create a cohesive collection of cover images.
Posting to Instagram
Now that we have our designs, it's time to upload them to Instagram. In order to do this, we need the designs to be available on our phone.
The easiest way to do this is to download the Canva app and post directly from there. Click on your design, choose to "share" and you will see that there is a really nifty shortcut to share the image directly to your Instagram stories. Unfortunately, I do find that the phone app tends to mess up some of my designs, especially if I have changed the colour of a graphic element. Because of this, I choose to upload my designs to Dropbox and then save them directly onto my phone (I'll share how to do this in another blog post).
Once you have posted all of your new designs to your Instagram stories, they will be available to use as cover images for your highlights.
To create a new highlight category, head over to your profile page and click the circle to create a "New" highlight. From here you can see an archive of all of your stories. Click the dot in the corner to add your chosen stories to the category. Be sure to include your newly created cover image.
Once you have chosen your stories, click "Next" and give your highlight category a title. From this page you can also edit your cover photo. Click "Edit cover" and choose you cover image. Pinch the image to resize and centralise it and finish by clicking "Done".
It's that simple!
Repeat the process to add extra highlight categories.
Comments
https://instasaverr.com/tools/instagram-highlights-download
Keep in touch!
If you would like to hear about all of the latest news and upcoming events then pop your email address into the box below to subscribe to my newsletter:


